Hep2o - Push-fit Pipe fittings
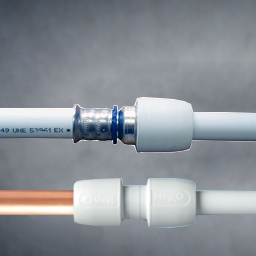
Push-fit pipes and plumbing fittings are a great alternative to traditional fittings. A quick way to replace or repair plumbing installations around the home. They’re easy to install and don’t need to be soldered, making them suitable for all kinds of piping and fixtures in your home’s plumbing system.
You can create a water-tight seal on any pipes when you use push-fit waste connectors, so you’ll never need to worry about leaks again. Plastic push-fit plumbing fittings are usually demountable, whereas copper fittings are not.
Suitable for hot and cold water and central heating systems our Wavin Hep2O push-fit fittings are available in a range of sizes and come with a 50-year guarantee for extra peace of mind.
Find a Wavin Hep2O stockist

Performance Benefits
Plastic pipe means no scale build-up.

Copper or plastic pipe, which is best?
See our articles outlining which system will best suit your needs and why.
"The best push-fit system so far. 50 years of warranty say everything." - PAX25 , ScrewFix
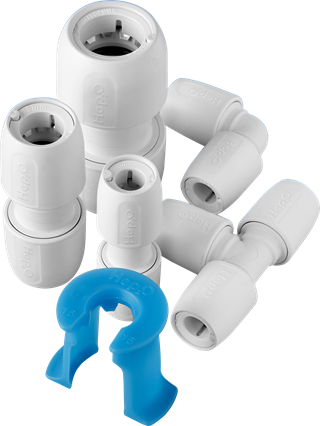
HepKey
50 year guarantee
A 50-year guarantee against defect in materials or manufacturing.

Compatability with Tigris K1 and Copper
Wavin Hep2o products
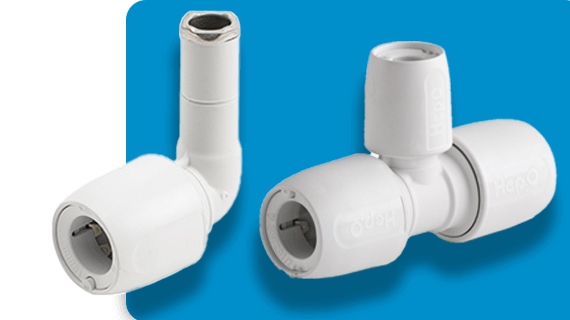
Plumbing Push Fittings
Choose from a wide range of Wavin Hep2O push-fit fittings.
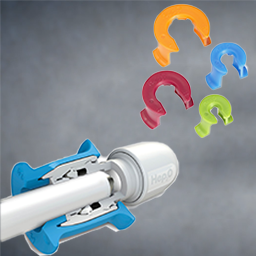
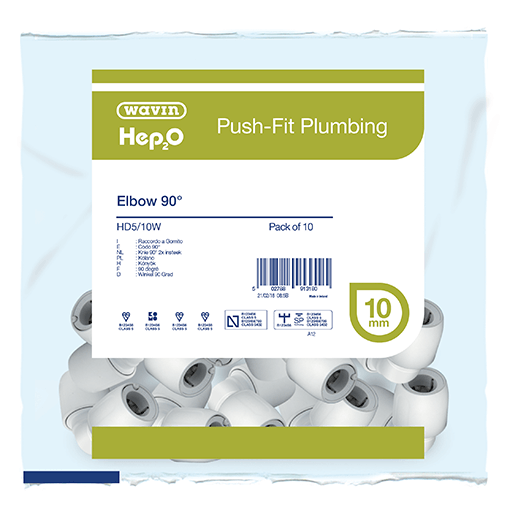
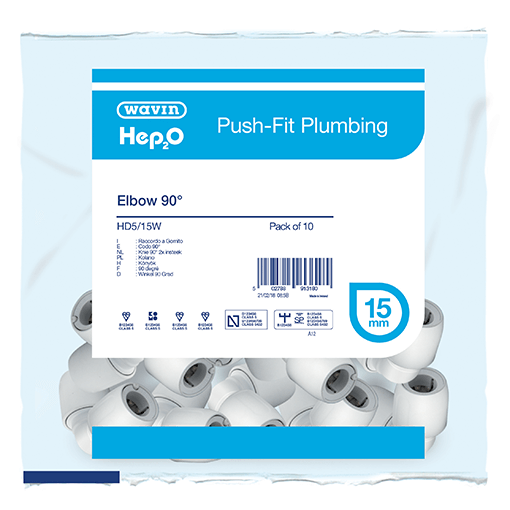
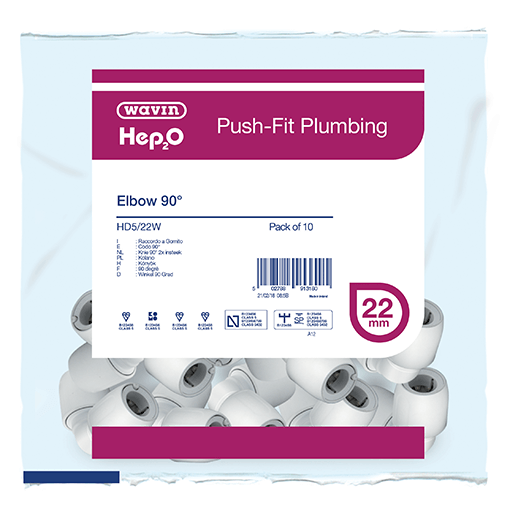
Pipe sizes
Our pipes and fittings are packaged on a colour-coded basis so the right pipe size can easily be found. The Hep2O push-fit plumbing pipe is available in four different sizes:
10mm (Green)
15mm (Blue)
22mm (Red)
28mm (Orange)

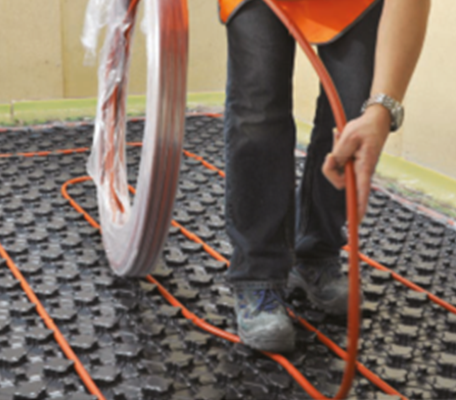
Comfia Underfloor Heating
Underfloor heating is becoming increasingly popular for new build houses and apartments due to its compatibility with low-carbon heat sources such as heat pumps.
Videos
How to install Hep2O
Our Wavin Hep2O installation how-to page which includes quick tips and tricks to learn to successfully install Hep2O fittings to any solution within any household.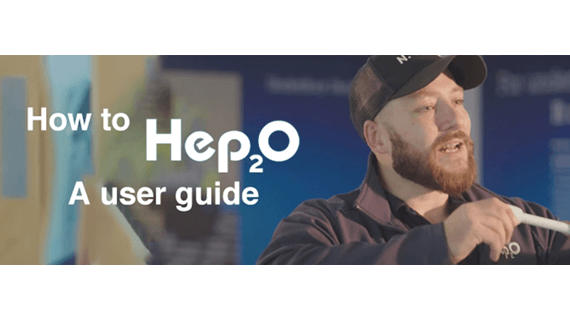
Frequently asked questions and related articles
Push-Fit Hep2O: Your plumbing FAQs answered
We've compiled the most frequently asked questions about our push-fit plumbing system, Hep2O. If you have a question that isn't answered in this article, get in touch with us. We're always happy to help.
All you need to know about Hep2O push-fit plastic plumbing pipe
Our push-fit plastic plumbing system Hep2O is available in straight lengths or coils in both Standard or Barrier pipe, both of which are accepted by British Gas/Scottish Gas Central Heating Care Contracts. In this post, we take a look at the key features of each.
Hints and tips for trouble-free Hep₂O installation
These simple and effective precautionary steps will help you to avoid problems and ensure trouble-free installation of Hep₂O.
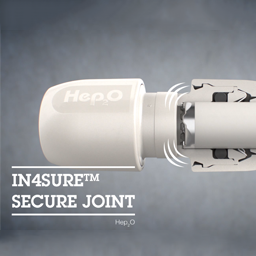
One of Hep2O’s unique advantages is that once fitted, the joint is safe and secure and cannot be tampered with. Of course, there are instances when a joint needs to be demounted or adjusted, so we have three options for ensuring a simple process.
Looking to learn more about Hep2O?
Our eLearning course gives a great overview of our Hep2O push-fit plumbing system’s unique features, including:
- How Hep2O works
- Our unique In4Sure joint recognition
- How Hep2O compares to copper pipe systems
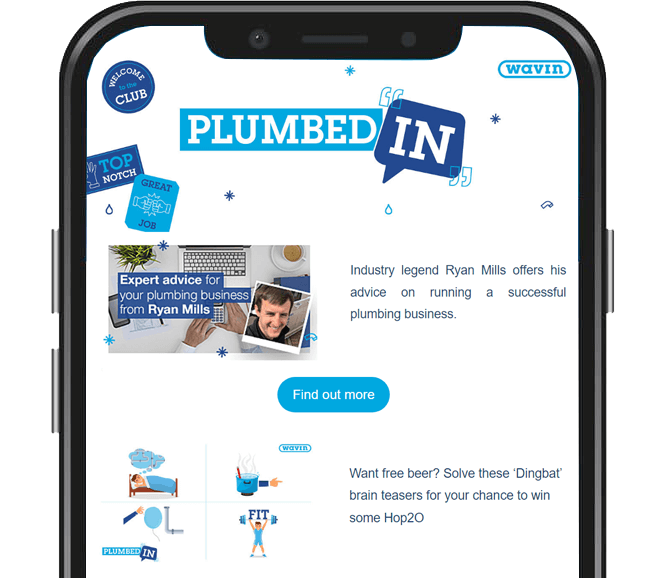
PlumbedIn Community
competitions and more!
Approvals
Wavin Hep2O carries a British Standard Kitemark against BS7291 parts 1 & 2 Class S. Fittings carry a British Standard Kitemark against BS EN ISO 15876. Barrier pipes and fittings also carry a British Standard Kitemark against BS EN ISO 21003.
All products are manufactured under the scope of a Quality Management System that is third-party accredited to BS EN ISO 9001:2008. Click here for more info.